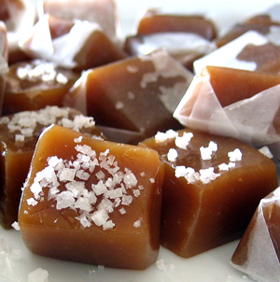
Salted Caramel Chocolate Shakeology? Yes, please. I mean, come on. Sometimes a girl just needs a hit of chocolate. With salt. And, okay sure… add some caramel, too! This recipe is so delicious and yet it is healthy for me, too! WOOT!
Salted Caramel Chocolate Shakeology
Salted Caramel Chocolate Shakeology
1 cup Almond milk (you know how I feel about cow’s milk so just work with me here)
1 tsp. caramel extract (found it at Meijer after a lot of searching — I recommend simply asking for direction and save the time)
1 dash sea salt (I use pink Himalayan)
1 scoop Chocolate Shakeology (Regular or Vegan — I prefer Vegan)
Ice to taste
Combine all the awesome into a blender and then crank it up (make sure the top is on the blender first). Goooooood morning breakfast!
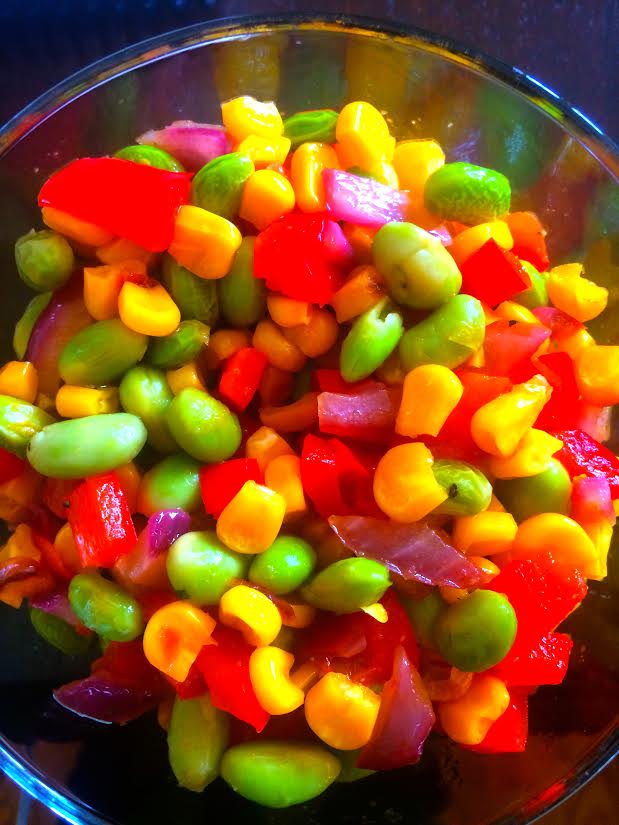
This recipe is simple, tastes fresh, and is delicious. I had it for the first time a couple of years ago when I first did the Ultimate Reset and was excited to make it again today. My biggest revelation with this dish is that corn and edamame are considered a starch (yellow container for those of you playing along at home) and are not considered veggies.
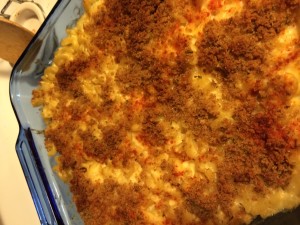
A healthier homemade macaroni and cheese was needed in our family. Needed. I have sons that devour it and I needed a quick on-the-go meal so we found a recipe for healthier homemade macaroni and cheese that would suit all of our needs. Here’s what we modified/created and I hope it blesses you and your family:
INGREDIENTS:
1 (16-ounce) package of whole wheat macaroni (we can’t get that here so we used Ronzoni Smart Taste macaroni as that’s the healthiest we can get)
2 c shredded low-fat Cheddar cheese (we opted for fat-free)
1/2 c grated Parmesan cheese
3 c low-fat milk (we use milk from Shetler Dairy Farms that comes from grass-fed cows with no chemicals added–a local farm near us and I LOVE serving it to the boys).
TOPPING:
2 Tbs butter (see above)
1/2 c whole wheat bread crumbs
1 pinch of paprika
DIRECTIONS:
Preheat oven to 375 degrees F. Bring a large pot of lightly salted water to boil (we use Pink Himalaya Sea Salt). Cook macaroni in boiling water, stirring occasionally, until coked through but still has a bit of texture (firm). About 8 minutes. Drain.
Melt 2 Tbs butter in a saucepan over medium heat. Stir in flour. Slowly add milk-stirring constantly. Stir in cheeses and cook over low heat until it’s thick and melted (about 3 minutes). Place macaroni in a large baking dish (we used a glass 9×13 pan) and pour sauce over macaroni. Stir well.
(for the Topping) Melt 2 Tbs butter in a skillet over medium heat. Add breadcrumbs and stir until the butter has soaked into the crumbs (2 to 3 minutes). Spread it on top of noodle/cheese mixture and then sprinkle with Paprika.
Bake until cheese sauce is hot and breadcrumbs are browned (about 30 minutes)
This healthier homemade macaroni and cheese recipe (modified/adapted from allrecipes.com) has approximately 700 calories and is divided into 4 servings (175 per serving) and we broke it into 8 servings (at approximately 90 calories per serving). You can ditch the bread crumbs and lighten the cheese (if you are really concerned but…). It took less than an hour to prep and cook and cost us about $10 total for the whole pan.
We store it in one-cup Pyrex glass dishes that can go from the freezer to the oven and are dishwasher friendly (the pink ones pictured here). Storing it this way allows me to grab-and-go and I am far less likely to skip meals knowing I have this alternative that isn’t going to blow my calorie intake for the day. Enjoy!
You’re busy, right? I know I am. With 2 young sons, an amazing relationship with the man I’ll marry July 2014, a full-time career, my own business, and an active social life; time goes quickly. We’ve spent some time with our crock pot to try to find meals that at least hit the healthy scale and here’s one that was a raging success with us. It tastes great and re-heats well. We loved it.
Pineapple Chicken Burritos
Ingredfients
3 fresh or frozen chicken breasts
½ (20-ounce) can crushed pineapple, drained
1 (15-ounce) cans black beans, rinsed and drained
1 cups medium salsa
5-6 burrito sized flour tortillas
1 (10 oz) can green enchilada sauce
1 cups shredded cheddar/Monterey jack blend
1 cup cooked rice
Instructions
Place the chicken, pineapple, beans, and salsa in a gallon size ziplog freezer bag. Zip close and place in freezer. When ready to use thaw in fridge for 24 hours.
Empty contents into crock-pot and cook on low for 6 to 8 hours. Remove the chicken and shred. Mix the chicken back into the crock pot with the rest of the ingredients.
Mix in the cooked rice.
Fill 5-6 of the burrito tortillas. Place in in a 9×13 pan. Pour 1 can of the green enchilada sauce over the burritos.
Top with 1 cup of the shredded cheese and place under the broiler on the middle rack until the cheese is nice and melted. About 5 minutes.
To make it a bit healthier feel free to use fresh pineapple, cook your own beans, skip the tortilla and use brown rice or use a whole grain tortilla or atop a bed of brown rice. It’s a fan favorite and we’ll make it again. Feel free to compile all of the ingredients and put them in a freezer Ziploc container (remember to date it) and then pull it out and drop it in the crock pot on your way out the door. Eating better doesn’t have to be time consuming or cost you in flavor.
Our days are busy so to be able to put it in the crockpot and head off to work then pull it together in time to eat before bed & bath time is priceless. Enjoy!


 iling water, stirring occasionally, until coked through but still has a bit of texture (firm). About 8 minutes. Drain.
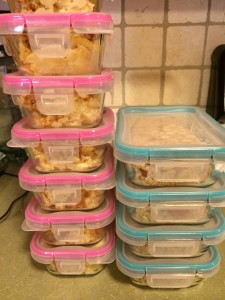 macaroni and cheese recipe (modified/adapted from allrecipes.com) has approximately 700 calories and is divided into 4 servings (175 per serving) and we broke it into 8 servings (at approximately 90 calories per serving). You can ditch the bread crumbs and lighten the cheese (if you are really concerned but…). It took less than an hour to prep and cook and cost us about $10 total for the whole pan.